


 eSIM
eSIM
 Refill
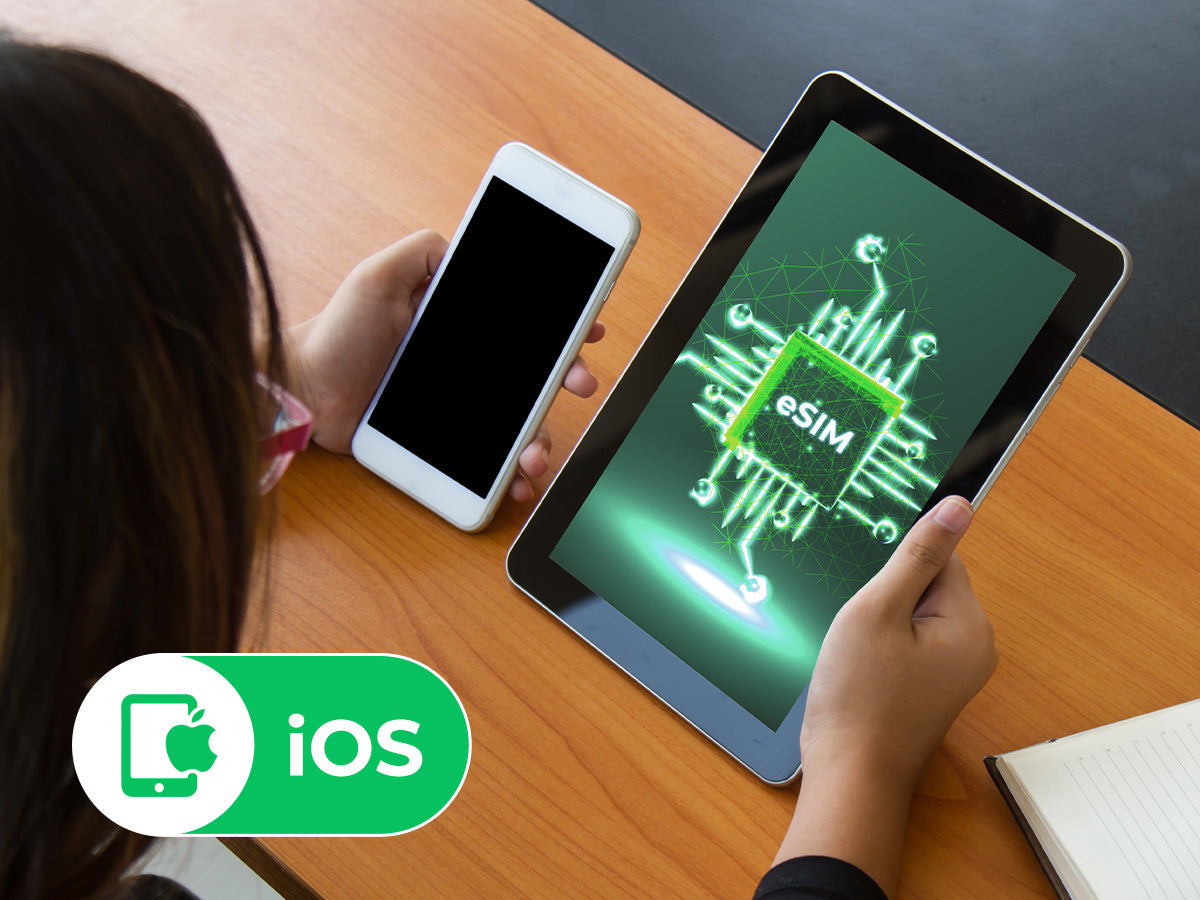
How do I install eSIM on my iPhone or iPad?
Preparation
- Confirm Device Compatibility for eSIM
- Your iPhone is Carrier Unlocked
- Ensure Stable Network Connection
An iPhone XS, iPhone XS Max, iPhone XR, or later supports eSIM. Models from iPhone 13 may supports dual eSIM (depends on your version). Note that models from mainland China do not support eSIM, but some models from Hong Kong and Macau do. Quickly check your device's compatibility using the Apple eSIM compatible device list or check or check the About eSIM on iPhone - Apple Support.
Remember, you must be located in your data package's country/region in order to connect to a network. (So don't try to activate a vacation data package if you're still at home, because you won't be able to reach those networks yet.)
Install eSIM
Install Using QR Code
Method 1: Scan the QR code with your iPhone camera
Method 2: Scan and add in the settings page
1. Open Phone Settings
Tap Settings > Cellular or Mobile Data > Add eSIM or Add Cellular Plan or Add Mobile Data Plan > Use QR Code.
2. Scan QR code
Use your phone’s camera to scan the eSIM QR code received via email.

Method 3: Add eSIM from the Photos app
1. Open Phone Setting
Tap Settings > Cellular or Mobile Data > Add eSIM or Add Cellular Plan or Add Mobile Data Plan > Use QR Code > Open Photos.
2. Pick the eSIM QR Code
Select the photo of the eSIM QR code from your gallery. Your iPhone will scan the QR code and install the eSIM.

Enter Activation Code
Enter the corresponding "SM-DP_Address" and "Activation Code". Please be careful not to include unnecessary characters like spaces.
Other eSIM Install Methods
1. Press and hold eSIM QR Code
This method is applicable to iOS17.4 or above. Eiotclub esim will send the eSIM installation and activation information in your order via email. Long press the eSIM QR code in the email, and in the pop-up prompt, tap the "Add eSIM" option.

2. Add eSIM from Control Center
iOS 18 introduces new ways to add eSIM. Apple has redesigned the Control Center in iOS 18, making it more intuitive and user-friendly. Through the Control Center, you can quickly access the camera to scan the QR code, and you can also quickly enter the Cellular Settings to add your eSIM.
2.1 Qucik access to scan QR code
You can add the "Code Scanner" to the control items for quick access and use the camera's QR code scanning function through the Control Center. In iOS 18, you can add it directly from the Control Center. For versions prior to iOS 18, you need to go to Settings to add the Scan barcode function to the control items.
2.2 iOS 18 Quick Access to Cellular Settings
Go to the Control Center, press and hold the Cellular Data, and select "Cellular Settings > Add eSIM" from the pop-up menu. If you have multiple SIM cards installed, this method can also be used to switch the default mobile data card between different SIM cards.When using travel eSIM from Eiotclub eSIM, you need to select it as the cellular data line, which is explained in detail below.
Activate eSIM
Method1. Tap Continue to Activate
After using the QR code or manually installing the eSIM profile information, you will be taken to the Activate eSIM page, just tap "Continue" to until the activation done.

Sometimes, due to the carrier not responding promptly, an already installed eSIM will display 'Activating...'. This situation usually resolves itself automatically within 10-15 minutes. You can try disabling other SIM cards, leaving only the newly installed SIM card on your phone, which typically resolves the issue faster. You can also contact Eiotclub eSIM customer service.
Method2.
- Open “Settings” on your iPhone or iPad
- Go to "Cellular"
- Under Cellular Plans, select your Eiotclub eSIM data plan (or select "Add eSIM")
- Toggle "Turn On This Line" to ON

P.S.
Sometimes, you may get the troubleshoot "eSIM Cannot Be Added - This code is no longer valid" Error as below. Mostly, the eSIM is already added to your phone and you may check the sim list.
2.Configure the eSIM Label
After activating your eSIM, you’ll be directed to the SIMs List settings page. The newly added eSIM will typically appear at the bottom of the list, initially labeled as "Cellular Data" or other preset labels. If you’d prefer a different label, you can easily customize it at any time.
To rename your eSIM, follow these steps:
- Select the corresponding eSIM in the SIMs List.
- Look for the CUSTOM LABEL field.
- Enter your preferred label, such as "Eiotclub eSIM."
This way, you can personalize your eSIM label for easier identification, especially if you have multiple eSIMs on your device.
3. Configure Defalt Line and Cellular Data
Sometimes the default line settings will appear.
- Default Line >> Select "Primary".
- Mobile Data or Cellular Data >> If you haven't arrived in your destination yet, select your original SIM card. If you have already arrived in your travel destination, select the newly added eSIM. Be careful not to turn on the "Allow Mobile Data Switching".
Enable Roaming
Typically, the newly installed eSIM is turned on by default. If you do not plan to use it immediately, you can turn it off. Once you arrive at your destination and are ready to use the eSIM, ensure the following:
- This travel eSIM line is set as the default line for Cellular Data.
- Ensure that this eSIM line is turned on and Data Roaming is enabled.
*Note: Some eSIM products come with a local IP and do not require roaming. They can be activated immediately after installation but network access available only upon arrival at your destination. This information will be included on the eSIM data plan product page
Select Available Network / Carrier
Eiotclub Unlimited eSIMs are designed to automatically detect and connect to the best available network based on your location and eSIM settings. This process usually takes just a minute or two. However, if the network is weak or the automatic selection doesn't connect to the optimal network, you can manually choose the best supported network in your area.
Manually selecting a network can resolve connection issues caused by automatic selection glitches and ensures you're connected to the strongest available network. Keep in mind, if you travel to a new country or region, you may need to repeat this process to switch to the best local network.
Follow these steps to manually select the correct network:
- Go to Settings > Cellular.
- Select the eSIM or Cellular Plan under the SIMs section.
- Tap Network Selection.
- Turn off Automatic.
- Choose the correct network from the list of available options.
By doing this, you can ensure you're connected to the most reliable network supported by your Eiotclub Unlimited eSIM, especially in areas with weaker signals.
How to Manage Your eSIM Card?
- Download the eiotclub app.
- Tap the “+” icon and enter your ICCID number.


- Once entered, the card information will be displayed on the screen as shown in the image below.On this screen, you can view your remaining data and total data.

- Tap the “Refill” button on the right to recharge your plan.